Sprouting Seeds
How to Start for Under $10
Growing your own sprouts and microgreens at home is not only rewarding but also cost-effective. With minimal investment, you can enjoy fresh, nutrient-rich foods right from your kitchen. You can often sacrifice a small table or section of countertop to keep yourself fresh in greens.
Let’s look at the process of sprouting seeds and cultivating microgreens, while keeping your startup costs under $10.
This difference between microgreens and sprouts
Sprouts are germinated seeds that are eaten whole, including the seed, stem, and leaves. They are typically consumed raw and add a crunchy texture to dishes. Common varieties include alfalfa, mung beans, and broccoli. Nutritionally, sprouts are rich in vitamins, enzymes, and proteins, making them an excellent addition to your diet.
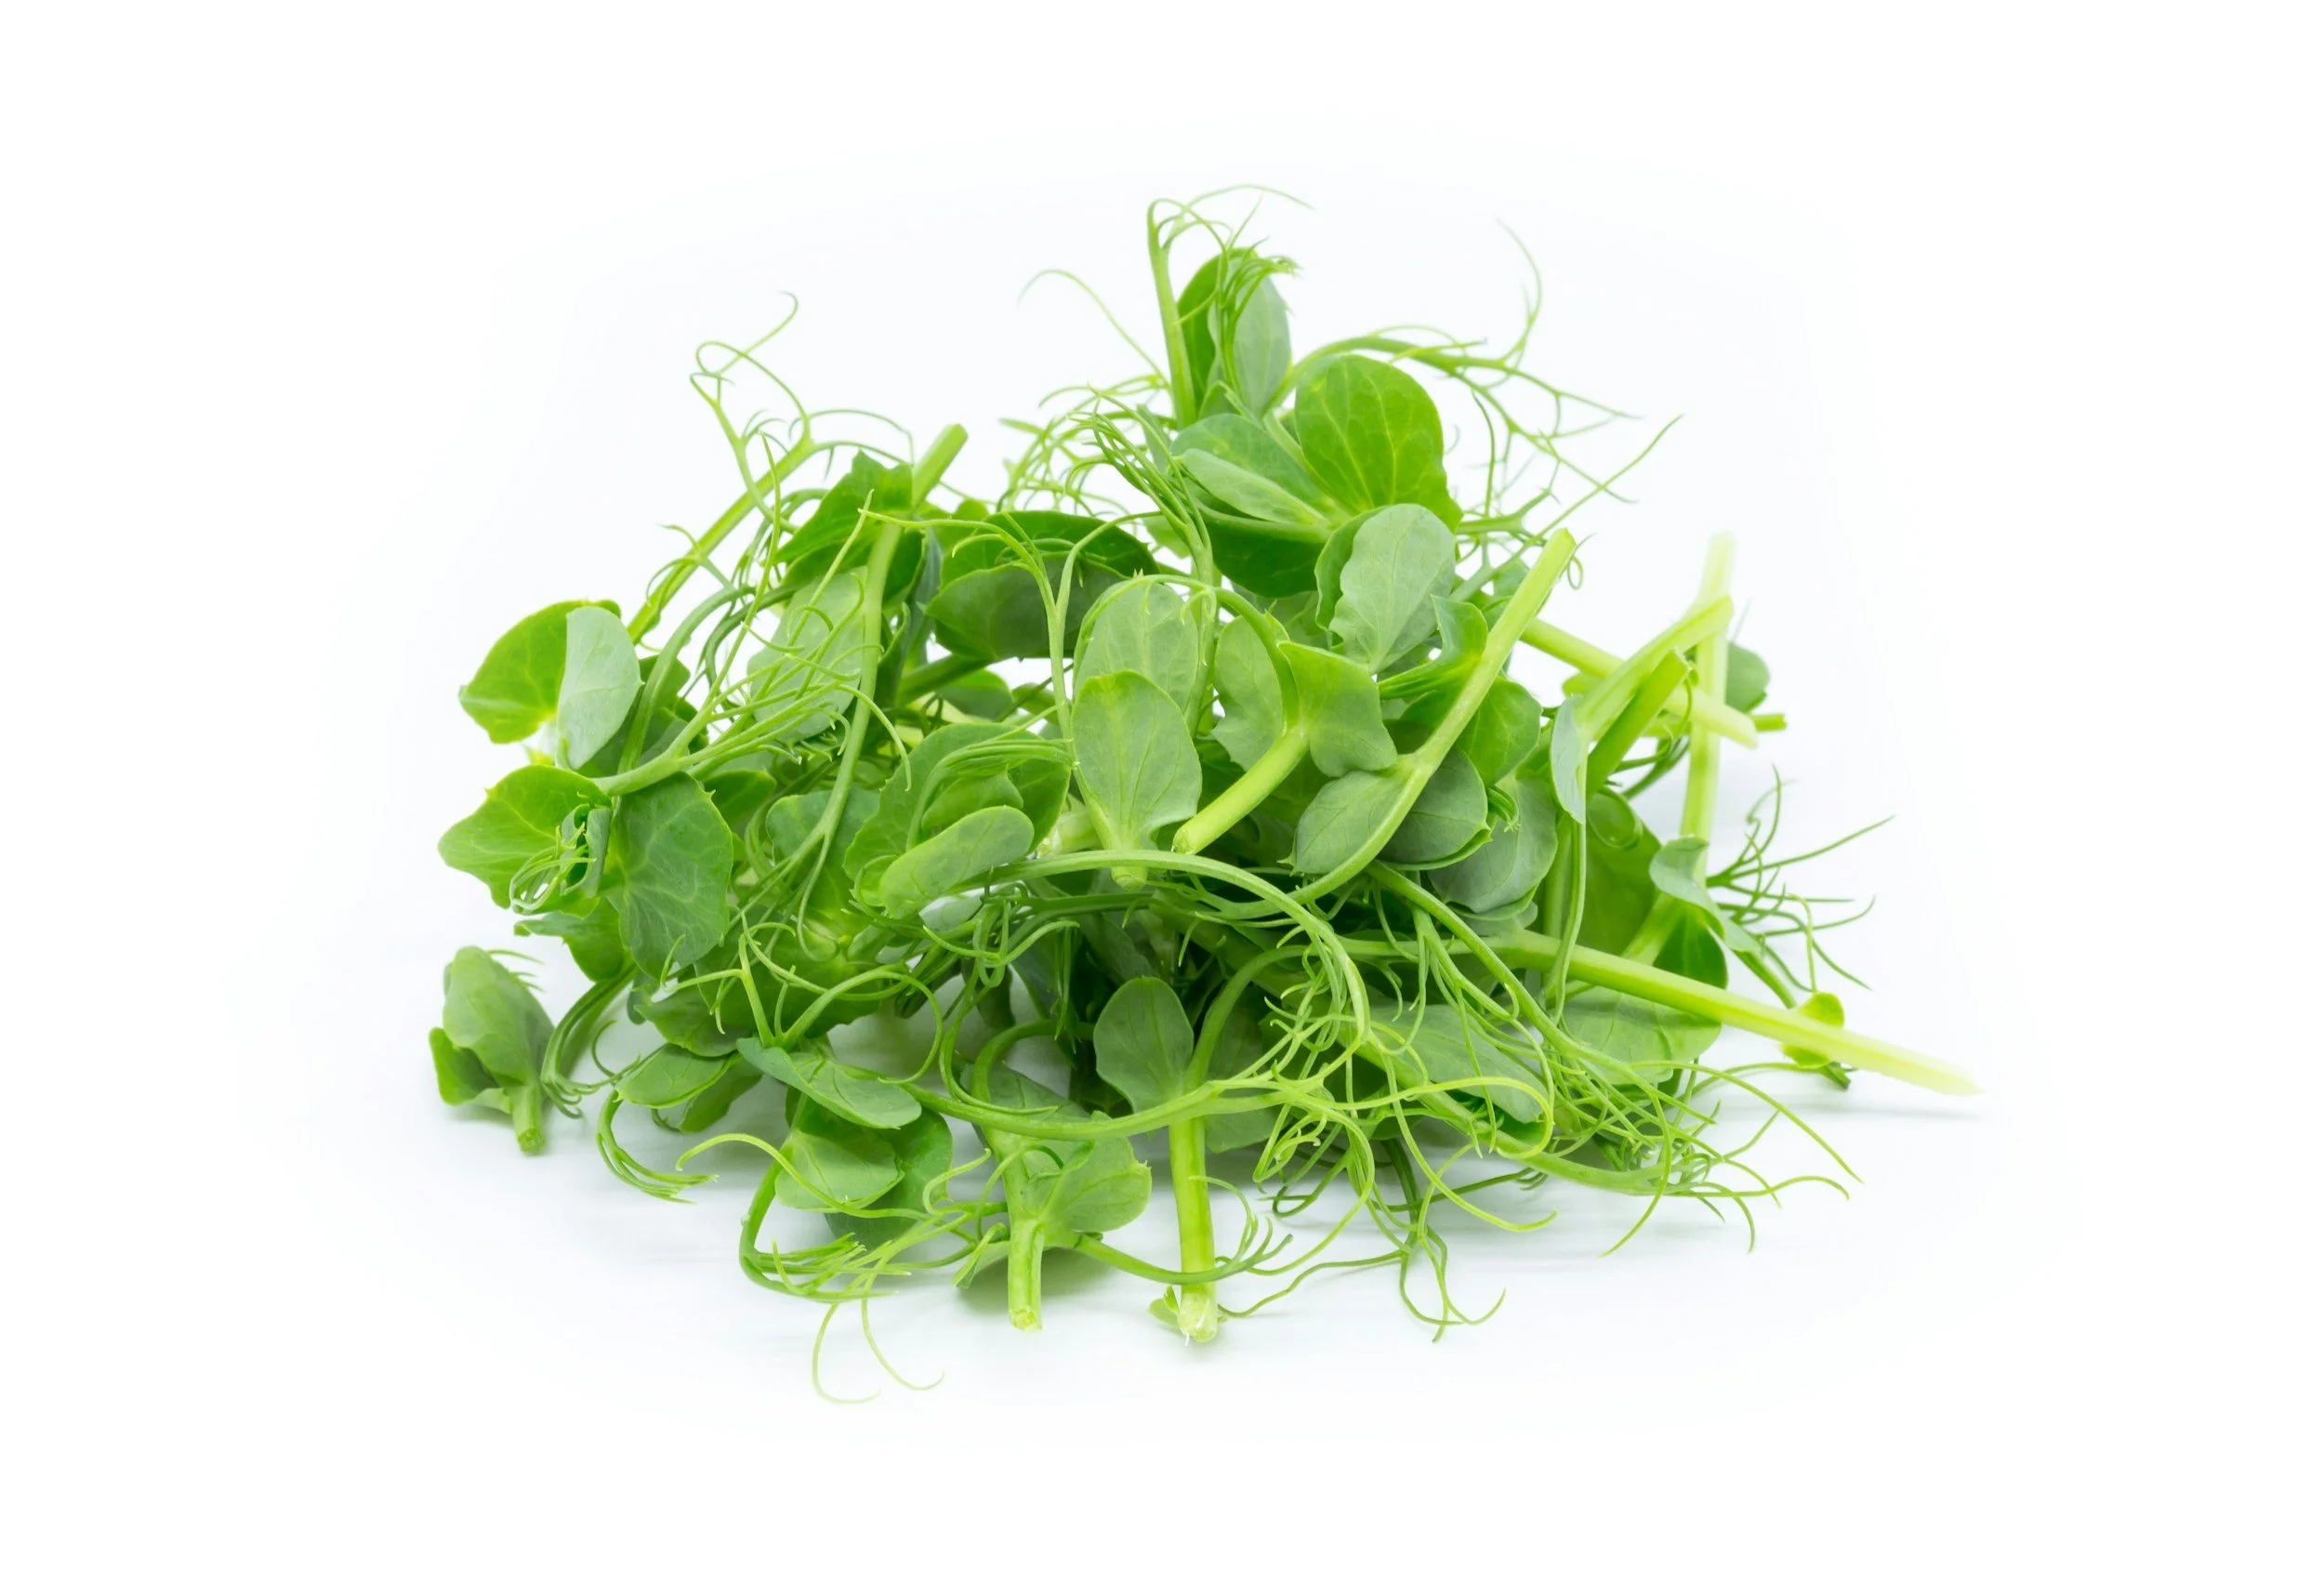
Microgreens, on the other hand, are young plants that are harvested after the first true leaves appear. They pack a powerful nutrient punch, often containing higher concentrations of vitamins and minerals compared to their mature counterparts. Popular microgreens include broccoli, sunflower, and pea shoots. Both sprouts and microgreens enhance flavors and provide a healthy boost to meals.
Choosing the Right Seeds
Selecting quality seeds is crucial for successful sprouting and microgreens. Look for seeds specifically labeled for sprouting, preferably organic to avoid pesticides.
For Sprouts
Alfalfa: Mild flavour and easy to grow.
Mung Beans: Crunchy and versatile in various dishes.
Radish: Adds a spicy kick to salads.
For Microgreens
Broccoli: Rich in sulforaphane, known for its cancer-fighting properties.
Sunflower: Nutty flavor and high in healthy fats.
Pea Shoots: Sweet taste and excellent for salads.
You can find seeds at local gardening stores, health food shops, or online retailers.
Essential Supplies
To get started with sprouting and microgreens, you'll need a few basic supplies. Here’s a list along with estimated costs:
For Sprouts
Glass Jar: Free or minimal cost.
Clean Cloth or Mesh Lid: You can also poke holes in a metal lid for draining.
Water: Free, but filtered water is ideal
For Microgreens
Shallow Trays or Containers: Recycle old food containers and put holes in them for drainage
Potting Soil or Growing Medium: $3-5, with organic options available.
Light bulb: $3-5, use a lamp that you can angle down and put a full spectrum bulb in it. (You can often find lamps at free sales or thrift shops. If it doesn’t point down, you can add a lamp shade to cast it down.
Estimated Total Cost: About $10 or less for both sprouts and microgreens.
Step-by-Step Sprouting Process
Soaking the Seeds: Start by soaking 1-2 tablespoons of seeds in water for 6-8 hours. This activates the seeds and begins the germination process.
Rinsing and Draining: After soaking, rinse the seeds thoroughly and drain excess water. Make sure to use a mesh lid or cheesecloth to allow proper drainage while keeping the seeds contained.
Keeping the Seeds Moist: Place the jar in a dark, well-ventilated area. Rinse and drain the seeds twice daily to keep them moist without soaking them.
Harvesting the Sprouts: In about 5-7 days, your sprouts will be ready to eat when they are about 1-2 inches long. Rinse them one final time before using.
Step-by-Step Microgreens Growing Process
Choosing a Container: Select shallow trays with drainage holes or repurpose old containers.
Preparing the Growing Medium: Fill your container with potting soil or a soilless mix, leveling it out for even growth.
Sowing Seeds: Evenly spread your seeds across the surface of the soil. Lightly cover them with a thin layer of soil, ensuring they have good contact with the growing medium.
Watering and Light: Water gently to keep the medium moist but not soggy. Place your tray in a well-lit area or under grow lights, providing 12-16 hours of light per day.
Harvesting Microgreens: Your microgreens will typically be ready to harvest in 7-21 days. Use scissors to cut them just above the soil line.
Tips for Successful Sprouting and Microgreens Growing
Monitor Moisture Levels: Keep an eye on moisture to prevent mold. Sprouts should be moist, not soggy.
Rotate for Even Growth: Rotate jars and trays for consistent light and air exposure.
Experiment with Different Seeds: Try various types for different flavors and textures.
Common Mistakes to Avoid
Overcrowding: Avoid putting too many seeds in one jar or tray, as this can hinder growth and airflow.
Infrequent Rinsing: Rinse your sprouts regularly to prevent mold growth.
Ignoring Conditions: Pay attention to temperature and light, as both are crucial for healthy growth.
Creative Ways to Use Sprouts and Microgreens
Salads: Toss in a handful of sprouts or microgreens for added crunch and nutrition.
Sandwiches: Use as a fresh topping for wraps and sandwiches.
Smoothies: Blend them into smoothies for an easy nutritional boost.
Garnishing: Use microgreens as a beautiful garnish for soups and main dishes.
Growing your own sprouts and microgreens at home is an affordable way to enhance your meals while boosting your health. With a small investment and a little time, you can enjoy fresh, nutrient-rich foods right from your kitchen. You won’t have to worry about the mileage going into your food production because it’s only as far as your kitchen sink to your kitchen table.


